
On 19th December 2017 version 2.1 of the Veeam Agent for Windows was released. One of the new features is direct backup and restore from Microsoft OneDrive, this is a feature I didn’t realise was in the pipeline (perhaps I missed it) however very excited to see it!
Here’s all the new features – Veeam Agent for Microsoft Windows – What’s New in 2.1?
The free edition of the Veeam Agent for Windows only supports backup of the System State. You will need a workstation or server license to backup other files or do a full system or volume backup.
Both OneDrive for Business and OneDrive (personal) are supported.
Now backing up an entire computer over your Internet connection may seem a little far fetched for some in Australia however with faster connections slowly rolling out and with the compression provided by Veeam it could be feasible.
This demo was done on a network with a 100Mbps Internet connection.
I’ve done a test with a Windows 10 virtual machine. There’s lots of screen shots so I’ve broken it in to three sections so it doesn’t seem so long 🙂
First step is to install Veeam Agent for Windows
- Download the software from here. You can also request a free 30 day trial key from that page.
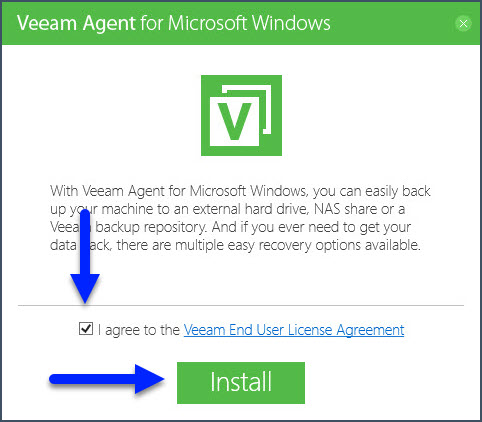
- Once the zip file has downloaded, extract the installer and run it. Click the check box to indicate your acceptance of the license agreement and then click the Install button.
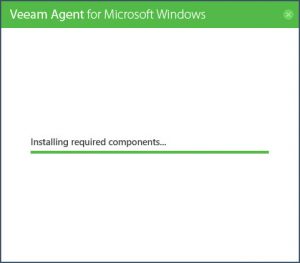
- Wait for the installation to finish
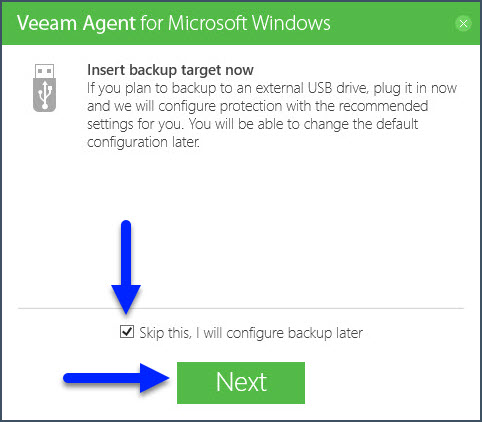
- As we are going to backup to OneDrive click the option to skip this backup target step.
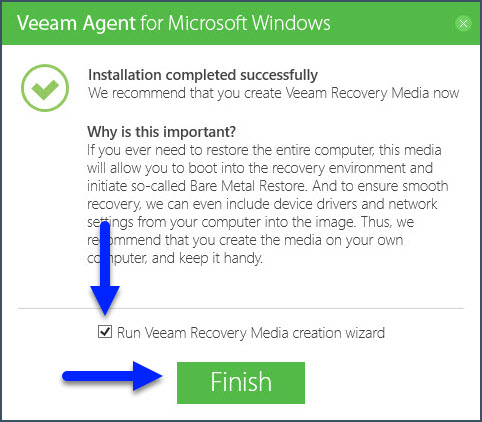
- Next step is to create the Veeam Recovery Media. I always do this at install time so I don’t forget. I create an ISO version and store it in the same location as the backup file so that everything is together.
Click the check box to create the recovery media and click Finish.
- As this is a virtual machine there’s no USB ports, on a physcial machine with a DVD burner there will be an option to burn directly to DVD. If you have a USB key plugged in you will also see an option to create a bootable USB. I would recommend creating a bootable USB key as well (min 4GB key required).
The ISO file is useful for storing with the backup files and can be burnt to a physical DVD if required to perform a bare metal recovery.
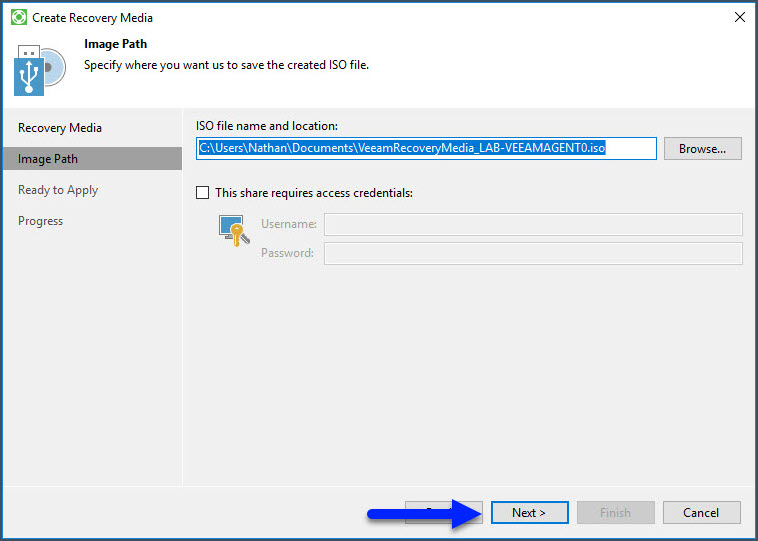
In this case I selected the ISO image format and clicked Next.

- I saved the ISO file to the default location in Documents, you can choose a different location if you prefer, then click Next.
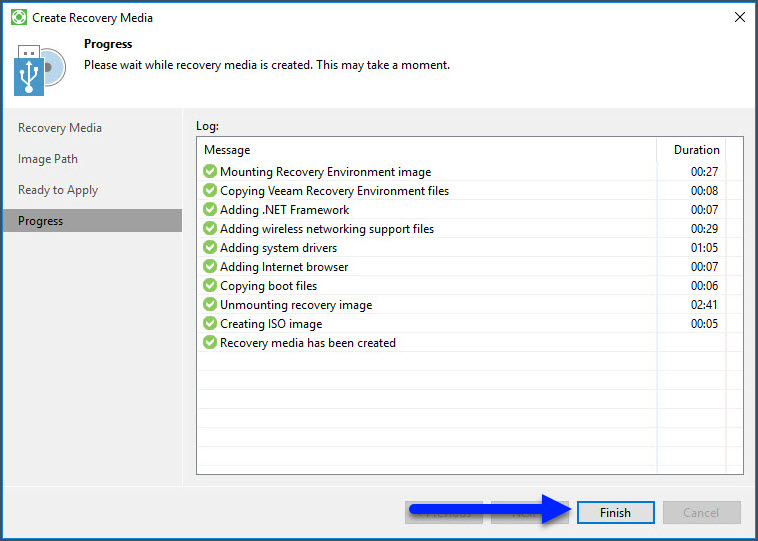
- You will see the progress of the task and when it has completed press the Finish button.
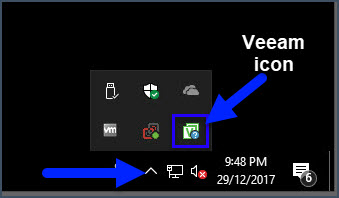
So that’s it, Veeam Windows Agent in now installed. You will see an icon in your system tray. The icon will likely be hidden so click the up arrow to show hidden icons.
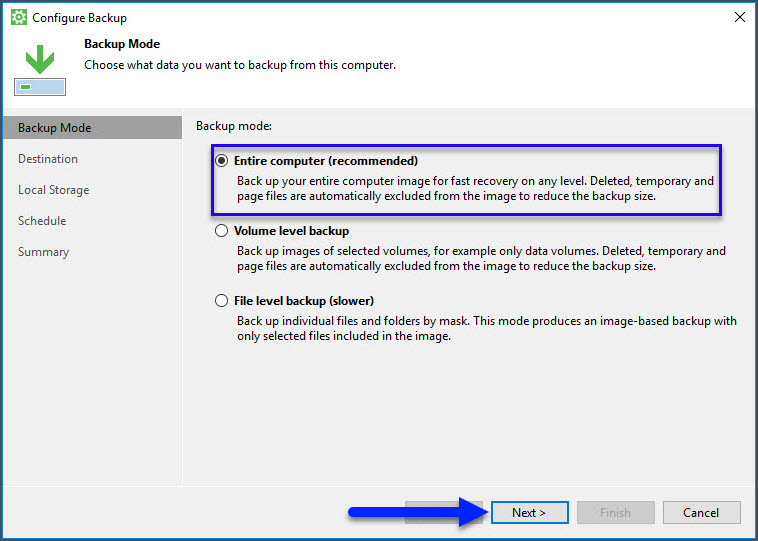
So now that we have Veeam Agent for Windows installed, it’s time to configure it to backup to OneDrive. For this demo I backed up the entire computer. In the real world if you are also syncing your OneDrive to the computer I would suggest keeping that folder on a separate volume so you aren’t backing up OneDrive data back to OneDrive 🙂
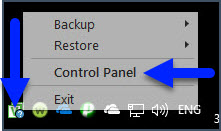
- Right click on the Veeam system tray icon and select Control Panel.
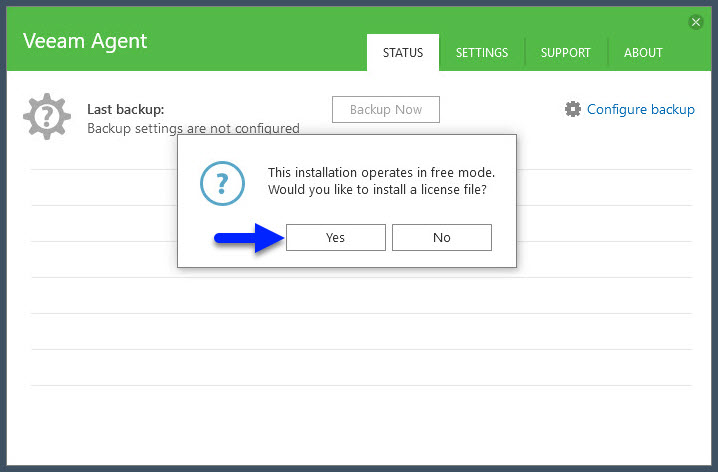
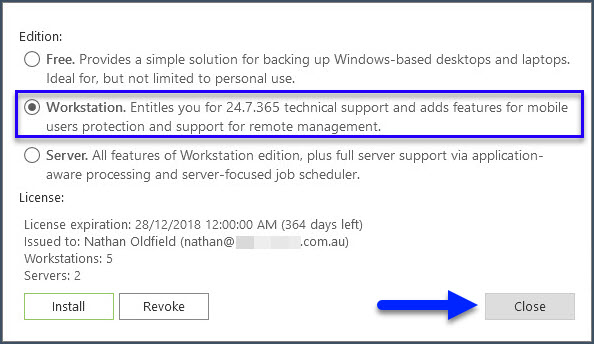
- When you first open the Veeam Agent control panel you will get a licensing notification. In this case I need to install a license as I need the workstation license mode to allow full computer backup to OneDrive. Click on the Yes button to install the trial license file you have from Veeam or a license file from your Veeam Service Provider.
- Click the Install button and this will display a file browse window to select your license file.
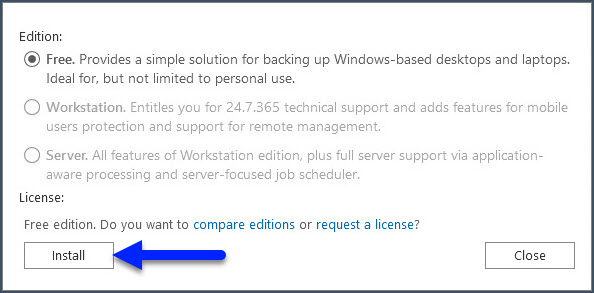
- Once you have selected your license file, select the Workstation option and then click Close.
- You will be back at the main control panel screen, click on Configure Backup.

- In this case I am selecting the entire computer, if you have your OneDrive syncing to a different volume then you would want to select Volume level backup and only backup the volume(s) without the OneDrive sync.
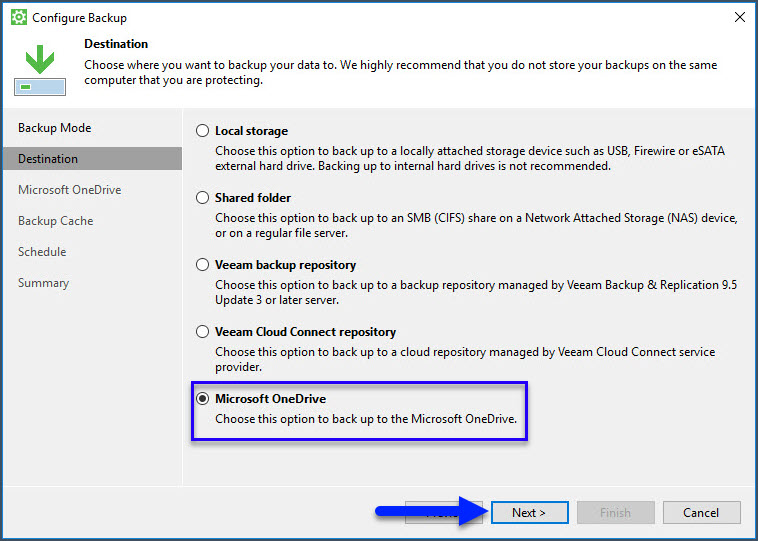
- The next option is to select the backup destination, of course we select Microsoft OneDrive and click Next.
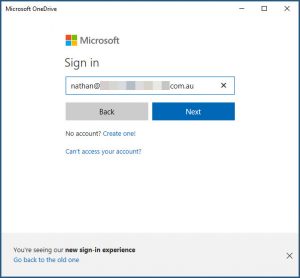
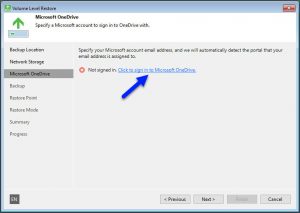
- Now we need to sign in to OneDrive, click the link.
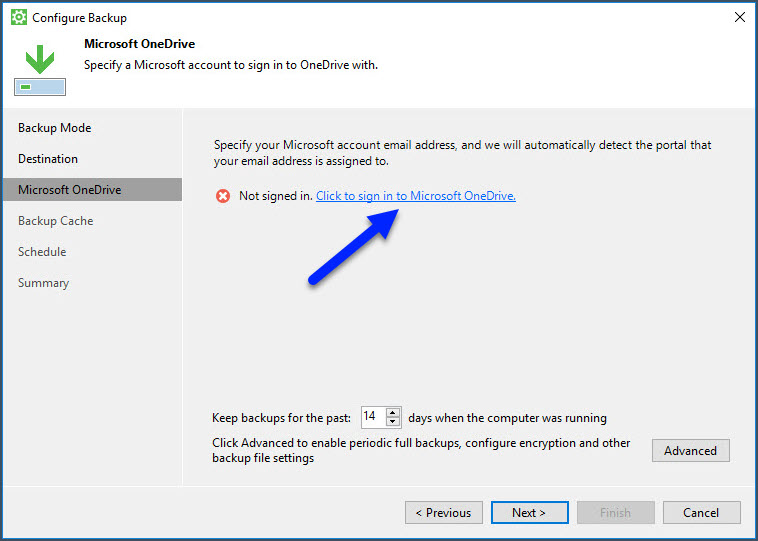
- You’ll be presented with usual Microsoft authentication screens to complete.

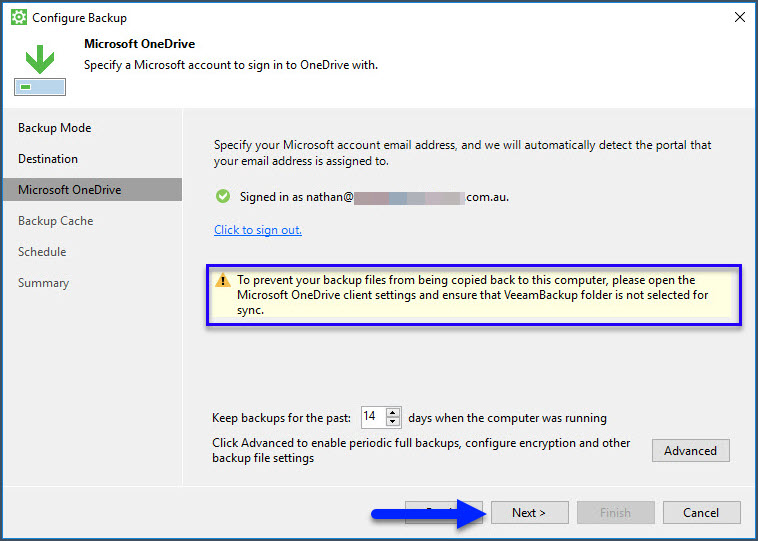
- You will now see that Veeam is successfully connected to the OneDrive account. Take note of the warning message. At this point a folder will be created at the top level of your OneDrive folder structure called “VeeamBackup”. If you have your OneDrive syncing to any machines you will want to exclude this file from the sync! Do this now before you start the first backup. The advanced section has more options, one being to encrypt the backup files and the other one of note is the Storage Optimisation, if you are on a “slower” Internet connection you may want to change it from the default “Local target” to “WAN target”. This will reduce the backup file size however it will put more load on the PC during the backup. For this demo I left the advanced settings at defaults.You will also see the option for backup retention, I have left this at the default of 14 days.Once you’ve sorted out your sync exclusion and checked the advanced settings click Next.
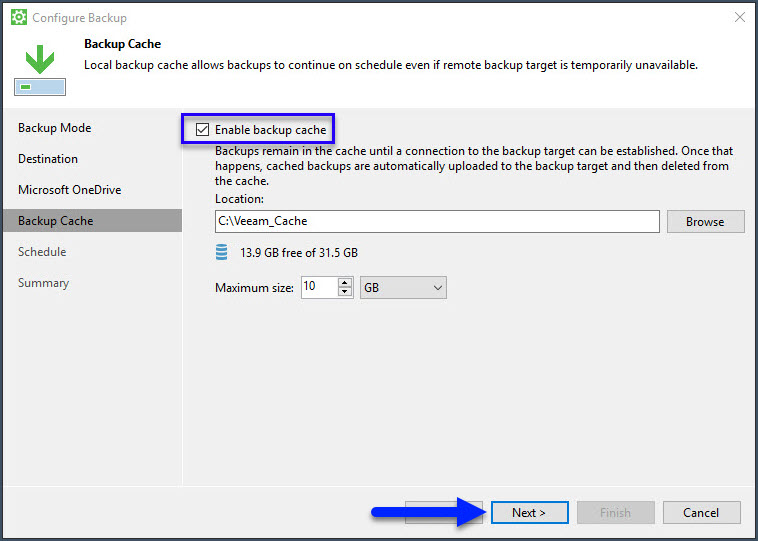
- I would recommend enabling the backup cache for times when the machine is not connected to the Internet however you still want backups to happen. Veeam will cache the data locally until it can upload it to OneDrive. In this case, I created a folder on c: drive and specified 10GB maximum size. Click Next.
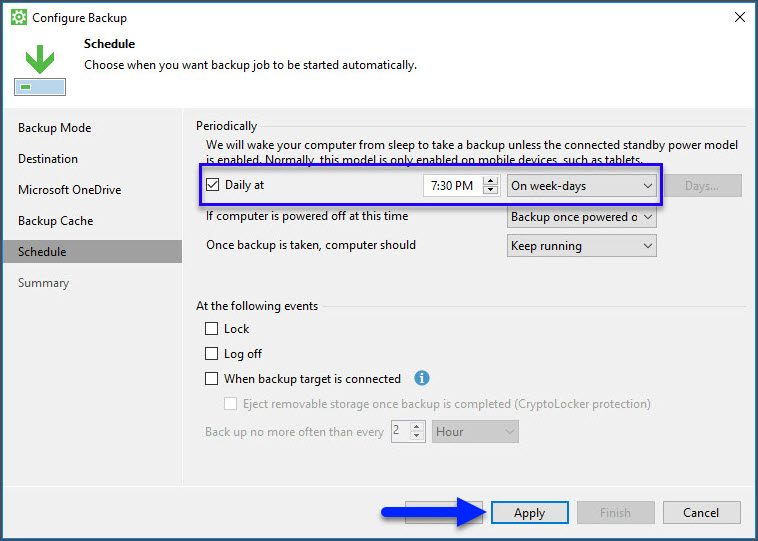
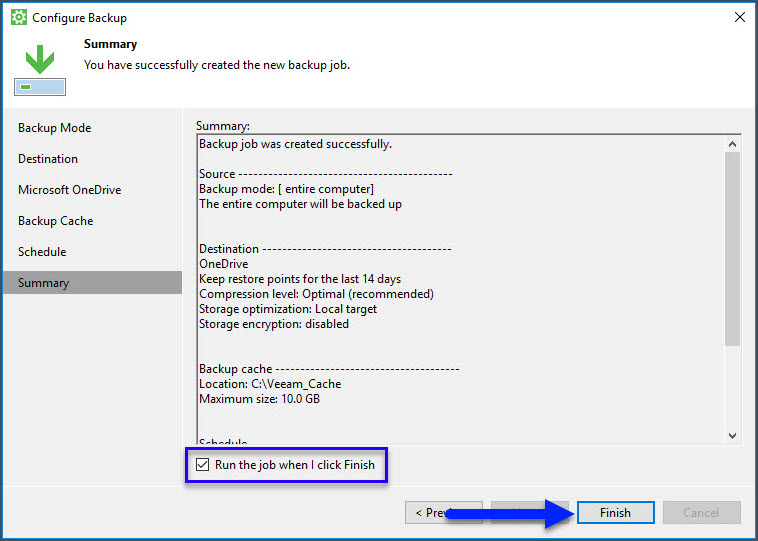
- Scheduling is next, in this case I have selected to backup each week night at 7.30pm. You will see there are several options to change the behaviour. The Server edition has more scheduling options, such as periodically during the day (e.g. every hour) and also monthly options. Once you have selected your preferred settings click Apply.
- You will then be presented with a summary of the settings. I have selected the option to run a backup right away. Click Finish.
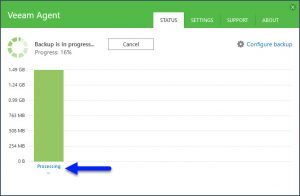
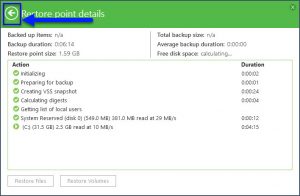
- The backup will now be running, you can click on the text “Processing” to view details of the job. Click on the arrow at the top left to get back to the main screen.
- I would also highly recommend placing a copy of the recovery media ISO file in the same OneDrive account. That way you will have the backup files and the ISO together in the event that you lose your physical computer etc.
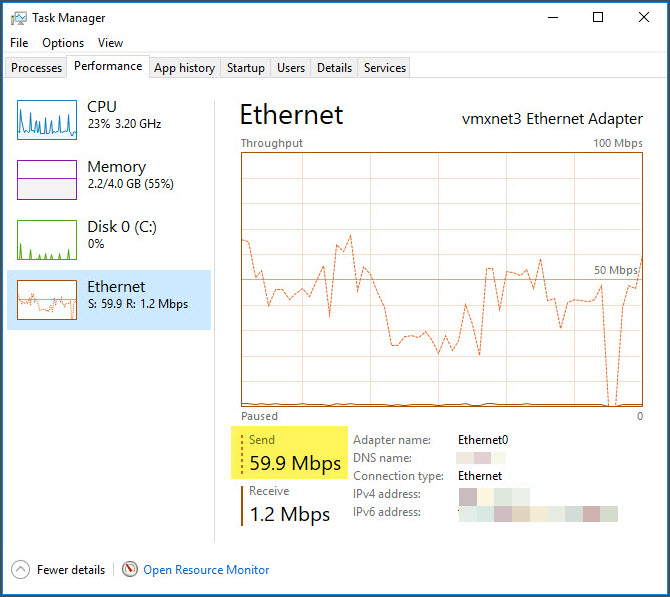
The upload speed to OneDrive for Business was pretty respectable I thought, I haven’t yet tested OneDrive (personal)
Now for the fun part, bare metal restore from OneDrive!
For this demo, I created a new virtual machine with the same specs and set it to boot from the recovery media ISO that was created during the installation process.
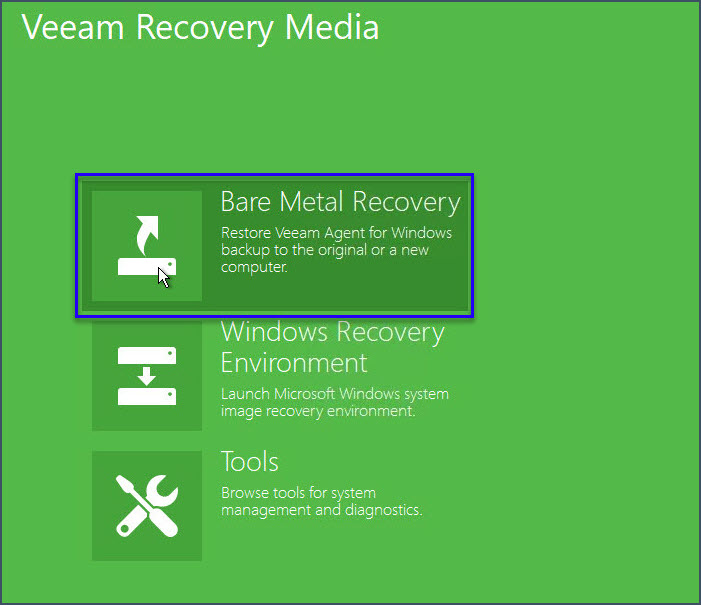
- When you boot you will see the green, Veeam Recovery Media screen. Click on “Bare Metal Recovery” to continue.
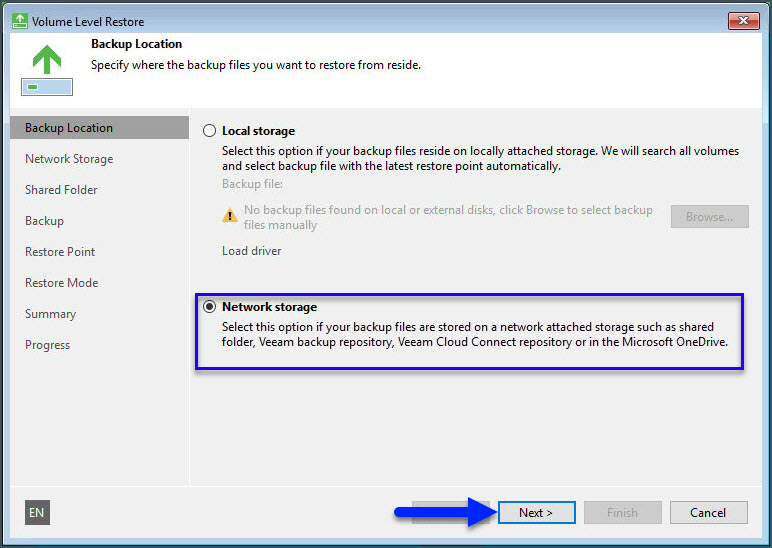
- You will then see the familiar Veeam restore interface, select Network Storage and click Next.
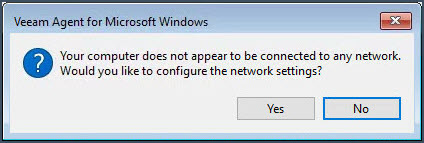
- I got this error because the network drivers were not loaded. At this point I clicked on No to go back to the previous screen.
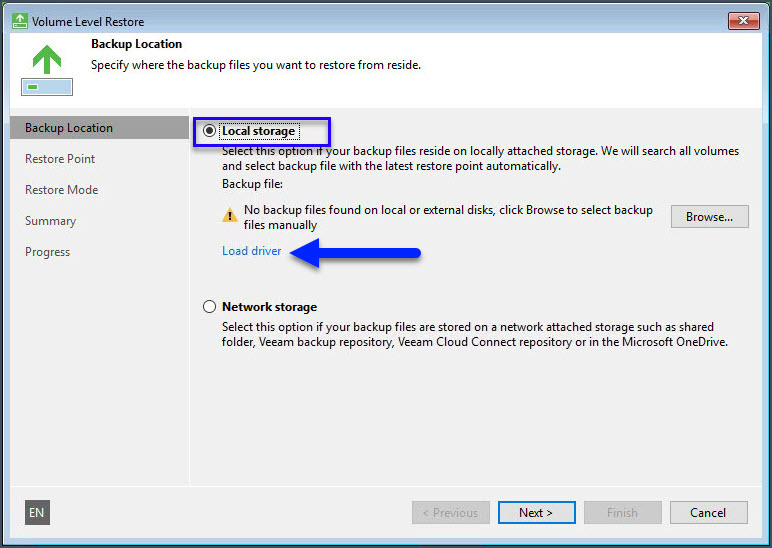
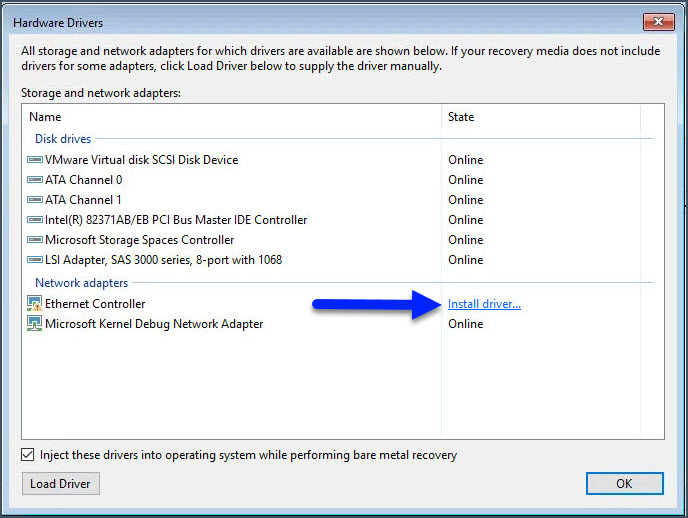
- Oddly enough you have to select the Local storage radio button to enable the Load driver link. Click on the Load driver link.
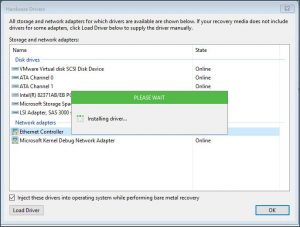
- You can see on this screen there is an exclamation mark on the ethernet controller, click the Install driver link.
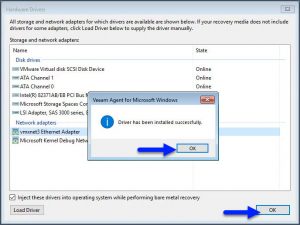
- You will see the driver install, then click OK, OK. This will take you back to the backup location screen.
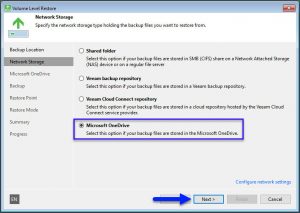
- Select network storage and click Next.
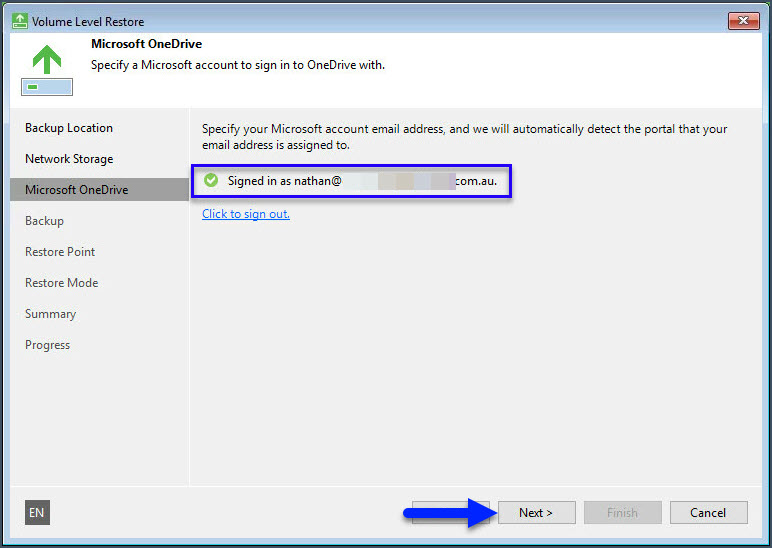
- Select Microsoft OneDrive, click Next. Then enter your OneDrive credentials as per the backup configuration.
- Once you are successfully connected to OneDrive click Next.
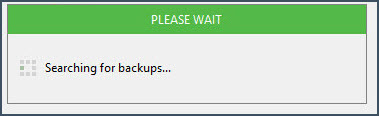
- Veeam will then scan the OneDrive account for backup files.
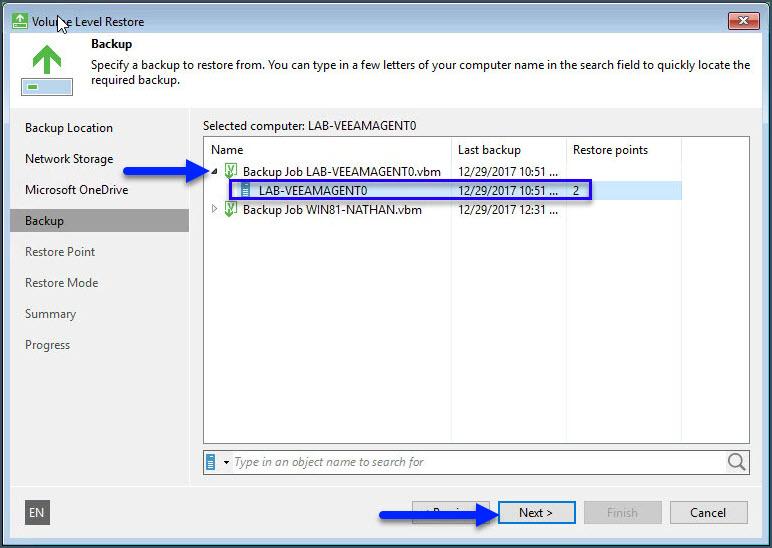
- As you can see here I have 2 computers backing up to this OneDrive account. I expand the job I need, select the machine and click Next.
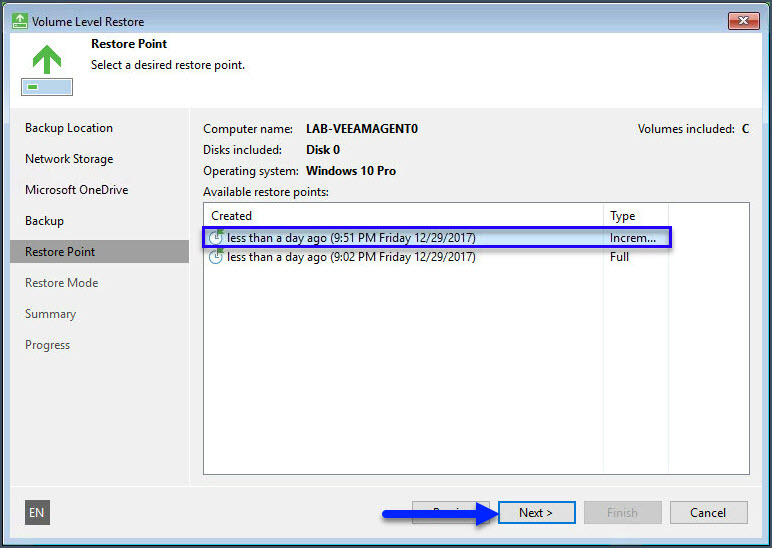
- Now select the restore point, you can see there has been the initial full backup and one incremental. I select the incremental and click Next.
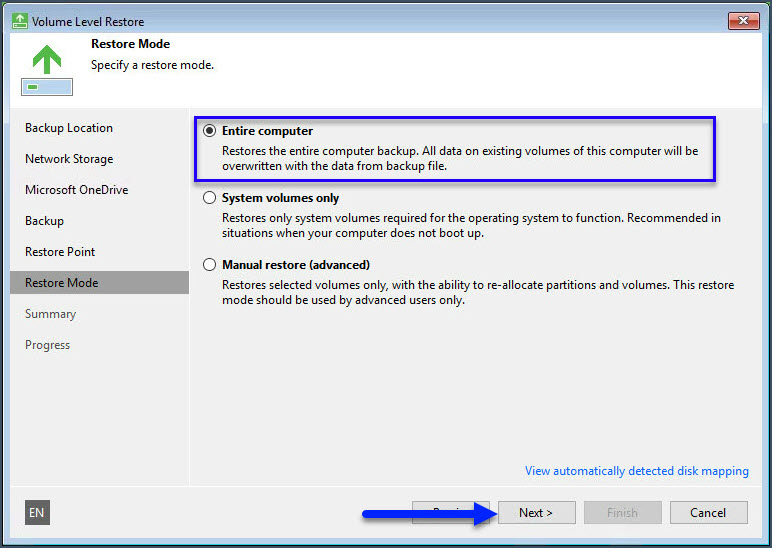
- I select the Entire computer restore mode and click Next. If you are restoring to a small disk you need to select the Manual restore option and in there you can shrink the volume, as long as there’s enough free space to remove from the volume. Very handy for migrating to an SSD which is smaller than the existing hard disk.
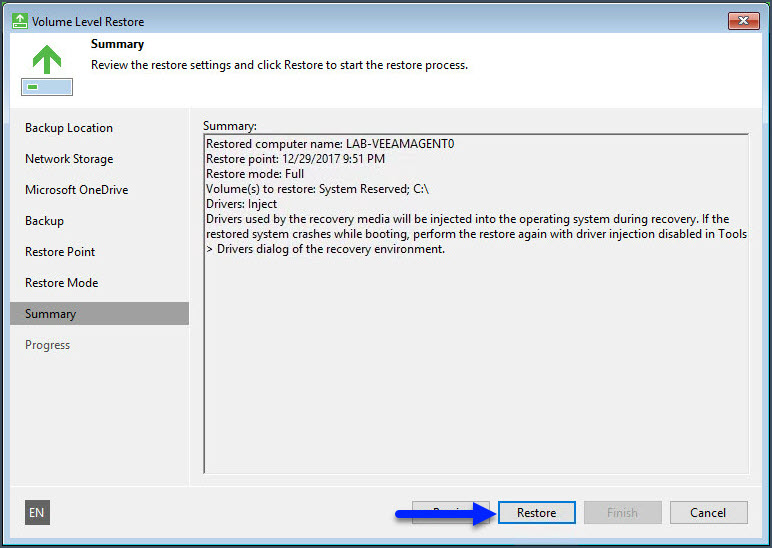
- You are then presented with a summary screen, click Restore.
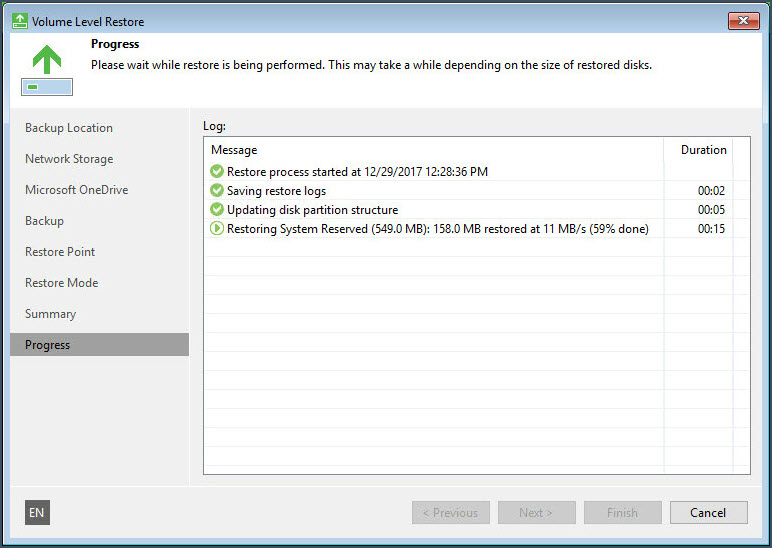
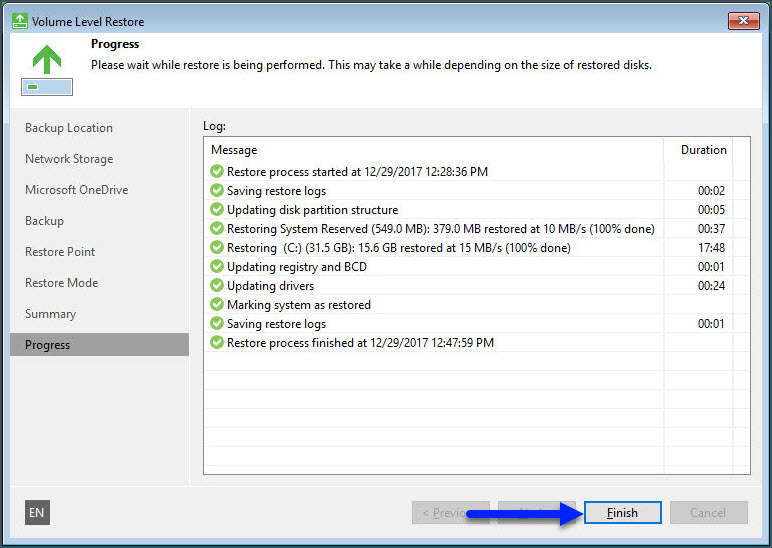
- The restore process now starts, of course your Internet speed will be a big factor in the time the restore takes.
- Once the restore process completes, click Finish.
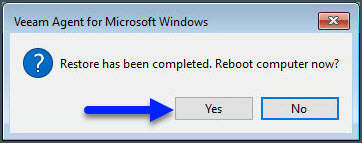
- Click Yes to restart the computer.
That’s it! The computer should now restart as it was. From the one test I have done so far, the next backup will be a full backup. I’ll post more once I’ve done some more testing.


Hi Nathan
Looks good but only the first page shows up? The section on one drive is missing for me.
ok so I missed the tabs at the top of the page. 🙂
Thanks David, I’ve changed the colours on the tabs now. Hoping that makes them a bit more obvious, they were a little too bland.